Creating a FortiNet External Captive Portal
Prerequisites
- Your FortiGate firewall must be running FortiOS6.0 or higher. Fydelia was tested on a FortiGate 40F running FortiOS v6.4.6 build6083 (GA)
- Admin access to your FortiGate firewall
- At least one compatible FortiAP device connected to the LAN socket of your FortiGate firewall. In this example we're using a FortiAP231F. No direct AP configuration is required
CREATE AN SSID
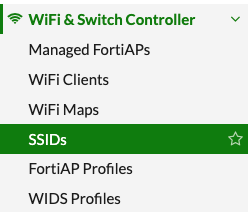
Under "WiFi & Switch Controller" click SSIDs
Click Create New -> SSID
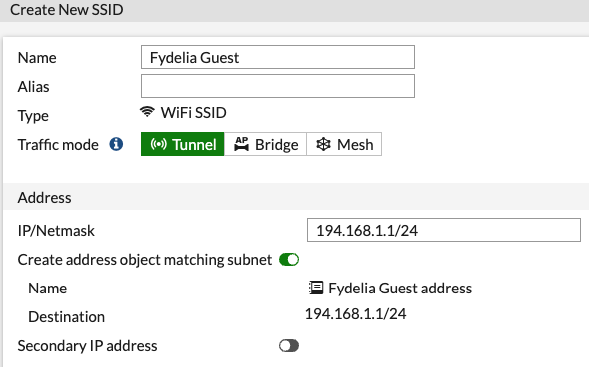
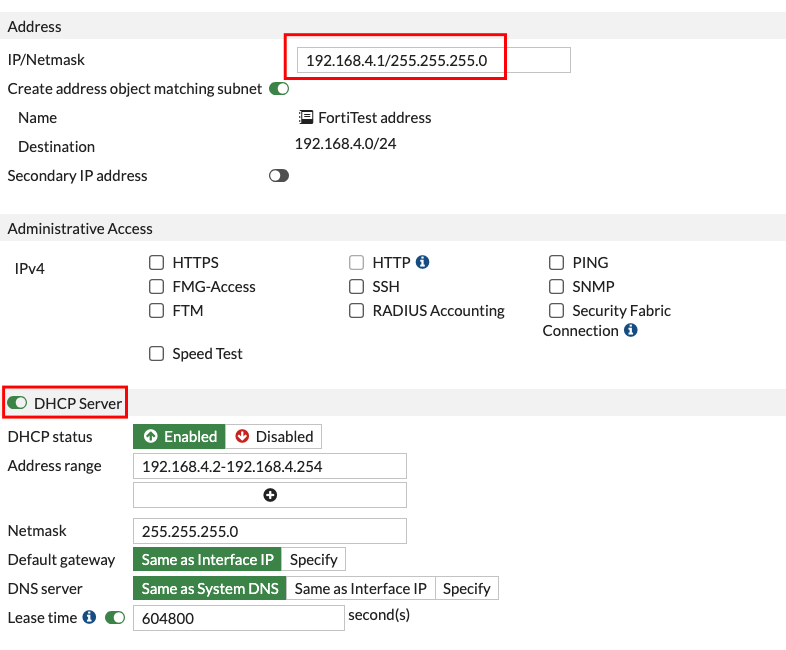
SSID and DHCP
Enter a name for your SSID (you will enter the actual broadcast network name further down)
Also enter your desired IP range for guest devices and enable DHCP:
WIRELESS NETWORK SETTINGS
Pay attention to these steps, as the captive redirect will not work without them
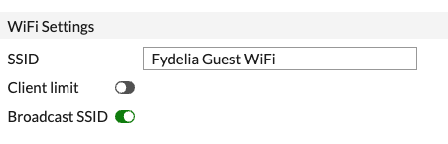
1) SSID Name
Under WiFi Settings enter an SSD Name, such as "Fydelia Test"
2) Security Mode
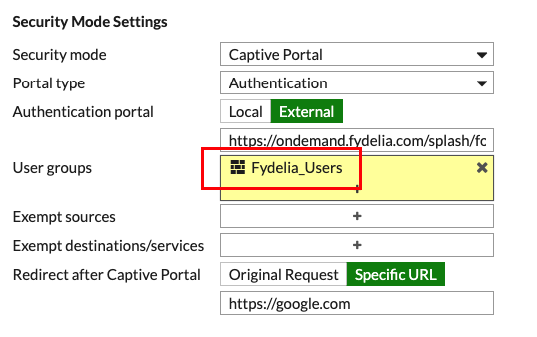
Under Security Mode, choose "Captive Portal", then "External".
3) Address and DHCP
Set your address range and enable DHCP accordingly:
4) Captive Portal Settings
You will need to copy/paste in your full Fydelia splash page URL:
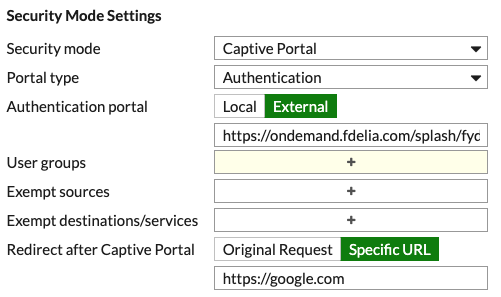
As you can see, after login we will redirect the guest to https://google.com
Creating the WiFi User Account
3) User Groups
You must assign a user group. We will just assign it to the default guest group related to the firewall.
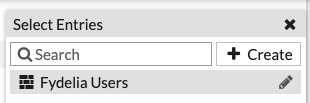
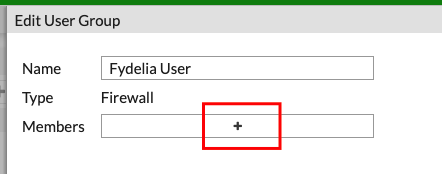
Create a group called Fydelia_Users
Edit the new group and click "+" to add Members:
Click CREATE and then User:
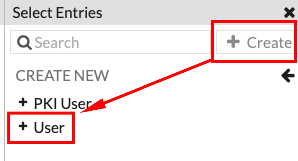
Choose "Local User"
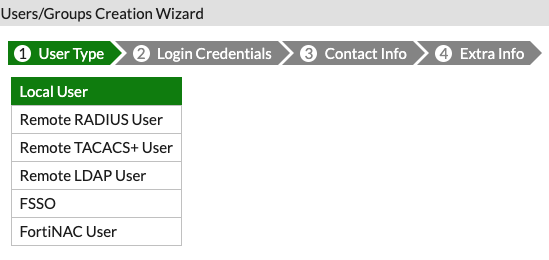
Click "Next" at the bottom of the screen
Enter a username and password that you will use on your Fydelia splash page settings, such as:
- fydelia / fydelia123

Click Next until you're done
Make sure that the User groups setting shows your new User Group:
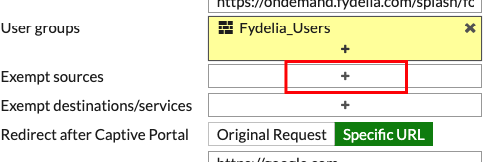
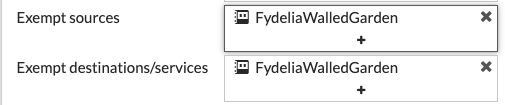
4) Exempt Destinations/Services
This step ensures that guests are allowed out to the Fydelia.com splash page even though they're not yet connected to the internet. This is, effectively, the pre-authentication walled garden setting:
Click the + button:
Click CREATE
Choose "Address"
Enter a name, Choose FQDN and enter "ondemand.fydelia.com"
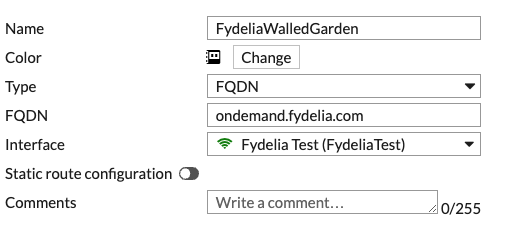
Click OK and Click your newly created entry.
Do the same for Exempt Destinations. Make sure it is showing in the settings:
Click OK at the bottom of the screen to save your settings.
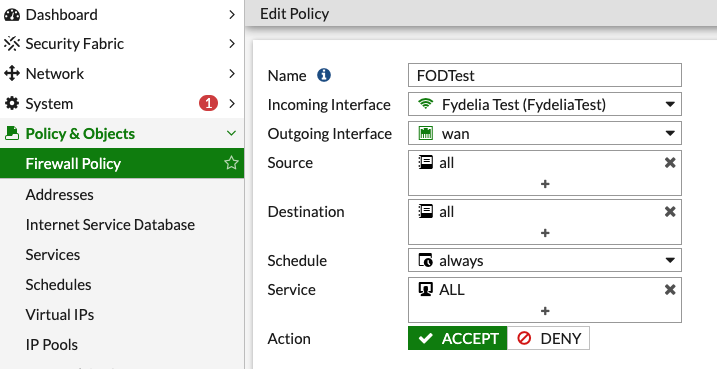
WiFi Policy
It's likely you already have this set up, but during testing we found that we had to add a policy to route WiFi traffic to the WAN, in order to gain internet access from the AP.
If you do not have a policy set up, create one that links your new SSID to WAN:
You're all set. Client devices can now authenticate via your Fydelia guest splash page.