
Creating a Fydelia captive HotSpot portal on a MikroTik RouterBoard
MikroTik RouterBoard External Captive Portal Setup
IMPORTANT: For Version 7.x, Fydelia has been tested successfully on 7.14. Fydelia has also been tested against V6.48.
This device works in a slightly different way to the traditional approach. When a hotspot is enabled, some splash page files are created on the router. In order to support an External Captive Portal such as Fydelia, you need to update the login file so that it redirects out to your splash page.
In this guide we’re using the MikroTik RouterBoard RB962UiGS-5HacT2HnT
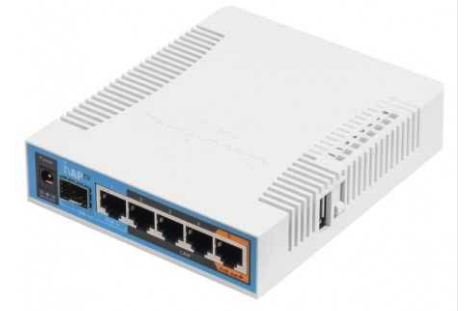
MikroTik RouterBoard RB3011uias-rm
There are 3 key steps to this guide:
1) Enabling the hotspot feature on the RouterBoard
2) Modifying the hotspot for Fydelia External Captive Portal pages
3) Authenticating devices onto the network
STEP 1 – Creating a Bridge for your HotSpot (optional)
Our test device supports WiFi. However if your device uses ethernet ports, follow these steps to ensure that all devices connected to Ethernet Port 10 (for example) to require Guest HotSpot login. With this setup no wireless devices are required for testing, since it will also work with LAN cable connections.
Creating a HotSpot bridge
In a typical environment you will bridge to a VLAN. You can find instructions on creating a hotspot bridge on a VLAN by clicking this How-To article.
IMPORTANT: For this document we’re going to set up the HotSpot on Ethernet port 10, and NOT a VLAN.
Note that in Ethernet mode you cannot assign a HotSpot to a “slave” port that is linked to the default bridge. This is why we need to create a new bridge and assign the Hotspot port (ETH 10, in this case) to the new bridge. This will also prevent you from being locked out of your router if you enable the hotspot on the default bridge.
To create a new bridge:
- connect the WAN cable to ETH 1, and your computer to another port such as ETH 2
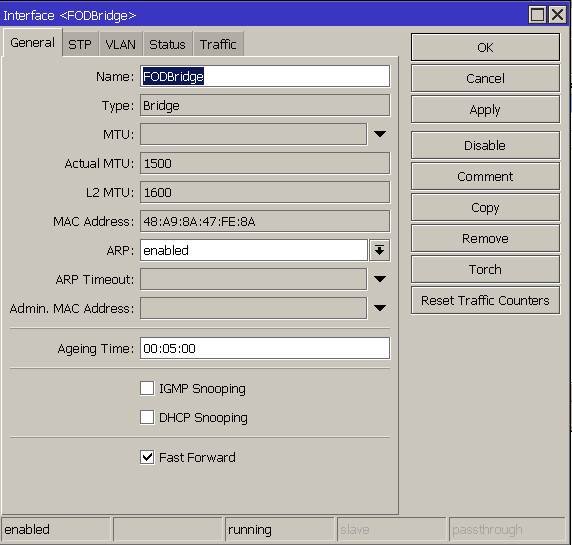
- Create a new Bridge and call it “FODBridge”
- Click the PORTS tab
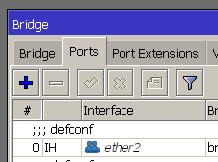
- Click the “-” button to delete ETH Port 10
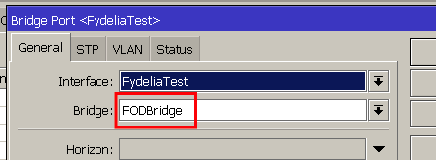
- Click ADD NEW
- Choose ETH Port 10
Your system is now ready to have a HotSpot assigned to ETH Port 10
Create new DHCP Server
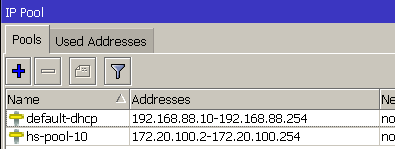
To ensure the HotSpot manages its own IP range for guests, you need to create a new DHCP Server which we will later assign to your new HotSpot. First we must create our desired address pool:
- In the IP section, click Pool
- Click Add New
- Fill in your desired range in CIDR notation. In this case we’ll use 172.20.100.x
- In the IP section, select DHCP Server and ADD NEW
- Give it a name, such as FODHCP (Fydelia On Demand HotSpot Captive Portal)
- Assign the interface to the corresponding Bridge. In this instance we will use HSBridge we created earlier
- For Address Pool, use the one created in the previous step
- Click Apply to save changes
STEP 2 – Assigning the SSL Certificate
To use your Fydelia hotspot with the HTTPS protocol (strongly recommended), follow these
instructions to install an SSL certificate on your Mikrotik HotSpot
STEP 3 – Creating your HotSpot
The key steps in this section are:
- Create a user profile
- Create a server profile
- Create a HotSpot server
- Walled garden entries
Creating a User Profile
Optionally you can create a profile, which allows you to control the session time before the guest is redirected back to Fydelia for “Welcome Back” and automatic login:
- Still in the IP section click Hotspot
- Choose the “User Profiles” tab and click Add New
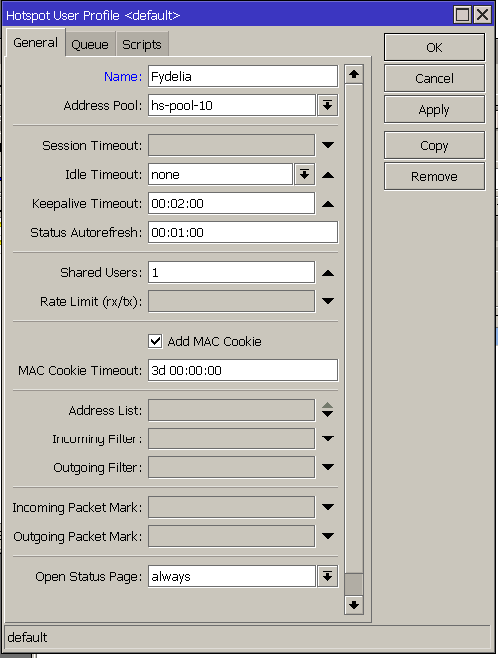
- Choose the Address Pool you created earlier
- Set the session time, in this case we will require guests to return to Fydelia after 30 minutes
- Click Apply
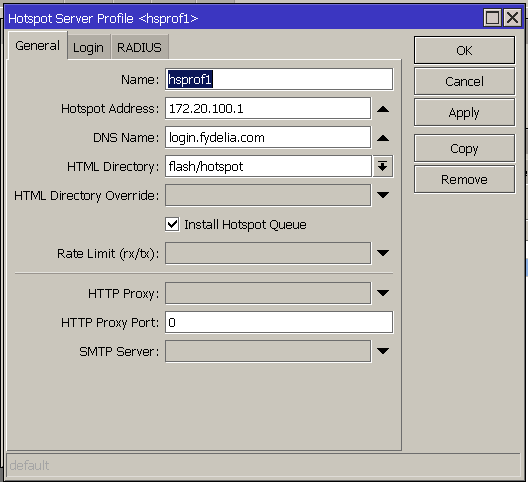
Creating the Hotspot Server Profile
- Still in the Hotspot section click the Server Profiles tab
- Provide a name
- Enter your desired IP for the Hotspot portal. This is where Fydelia will communicate locally in order to authenticate devices
- In DNS enter: “login.fydelia.com”. This allows you to assign the Fydelia SSL certificate, allowing full SSL login for your guests
Here is an example:
- On the login tab choose HTTP CHAP
- Do not select MAC Cookie
- If you are installing an SSL Certificate, choose HTTPS and HTTPS Redirect
Creating the Hotspot Server
Click on the Servers tab:
- Click ADD New
- Give it a meaningful name (guests will not see this) such as FydeliaHS
- Assign the Interface (the new bridge, in our case) and Address Pool settings to those we created in the previous steps
- If you created your own profile, that can be chosen here too
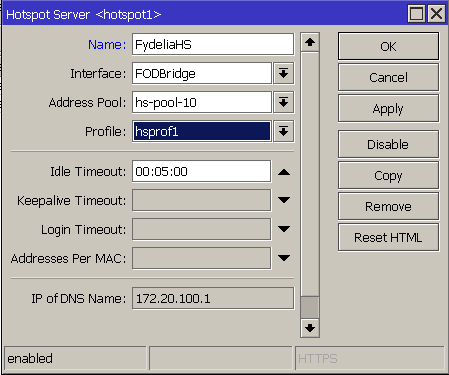
- Click Apply
A default MikroTik Hotspot is now enabled on ETH Port 10
Walled Garden Entries
Click on the Walled Garden tab
Add a new host entry for: ondemand.fydelia.com
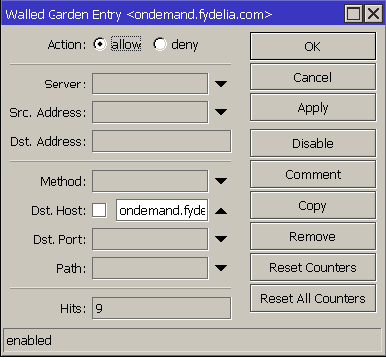
Click Apply and OK
IMPORTANT: If you’re using the Facebook login widget, also add a domain entry for: ondemand.fydeliawifi.com
Click on the Walled Garden IP List tab
Add a new IP entry with IP: 144.76.195.139
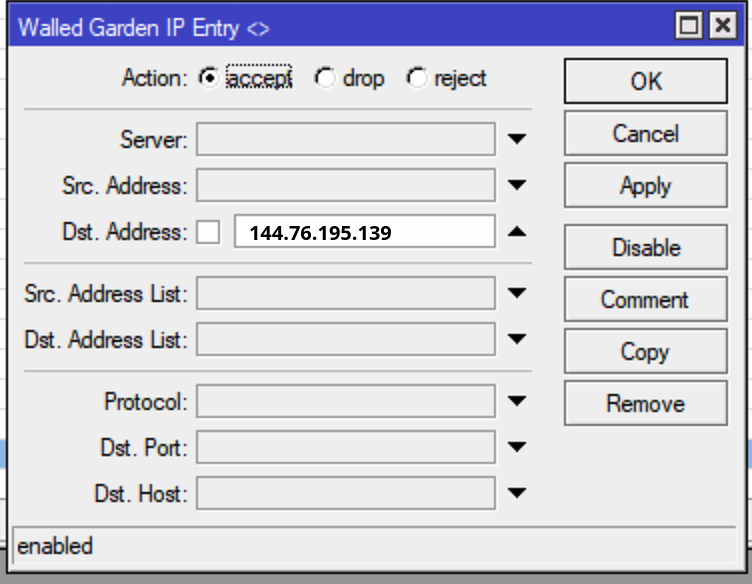
Click Apply and OK
IMPORTANT: As before, if you’re using the Facebook login widget, also add a domain entry for: ondemand.fydeliawifi.com
STEP 4 – Using Fydelia as an External Captive Portal
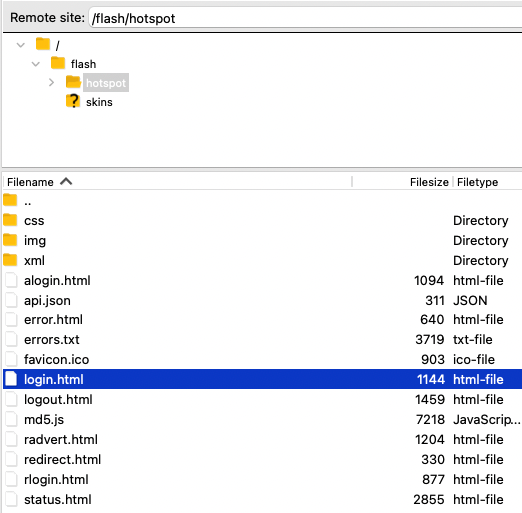
Now that you have set up your Hotspot, you will need to modify the “login.html” file in order to redirect to Fydelia.
An example file is attached to this article.
IMPORTANT: Be sure to change the form action URL to your Fydelia splash page URL
The file system can be browsed by clicking on the FILES menu:
IMPORTANT: We recommend that you replace the login.html file using FTP. In this guide we use FileZilla
- Connect via FTP to your RouterBoard
- In this example our RouterBoard is available on 192.168.88.1
- In the default configuration you will not need a password
- Replace the login file with the one attached to this article
Your hotspot will now redirect automatically to your Fydelia splash page. The final step is to configure Fydelia to be able to authenticate devices against your RouterBoard.
IMPORTANT: you may need to restart the Routerboard in order to apply changes
STEP 3 – Authenticating devices onto the network with Fydelia
For this final step we will need to:
- Add a new username and password to the Hotspot profile
- Edit the settings on our Fydelia splash page to include the new username and password
Here’s how you do it:
Adding a local user to the Hotspot
- In the IP section click Hotspot
- Choose the Users tab
- Click Add New
- Choose Server (the Hotspot you created)
- Enter a Name (the Fydelia username you desire) and a password
For example:
Username: Fydelia
Password: Fydelia123 - If you created a profile earlier, be sure to select it here
- Click Apply
Fydelia splash page configuration
We now need to add this username and password to your splash page
- Log in to your Fydelia account at https://ondemand.fydelia.com
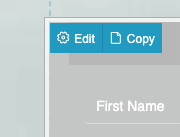
- Hover over your MikroTik form and click EDIT
- Enter the username and password that you chose in the previous step
- Click SAVE CHANGES (bottom left)
- And then PUBLISH (top right)
You’re all set! You can now authenticate users with your MikroTik External Captive portal.